
Our Process
From your first click to your finished floor, here's exactly what to expect. Proper preparation and proven materials are what make a coating last.
Get a Free EstimateStart to Finish
What to Expect
- 1
Step 1
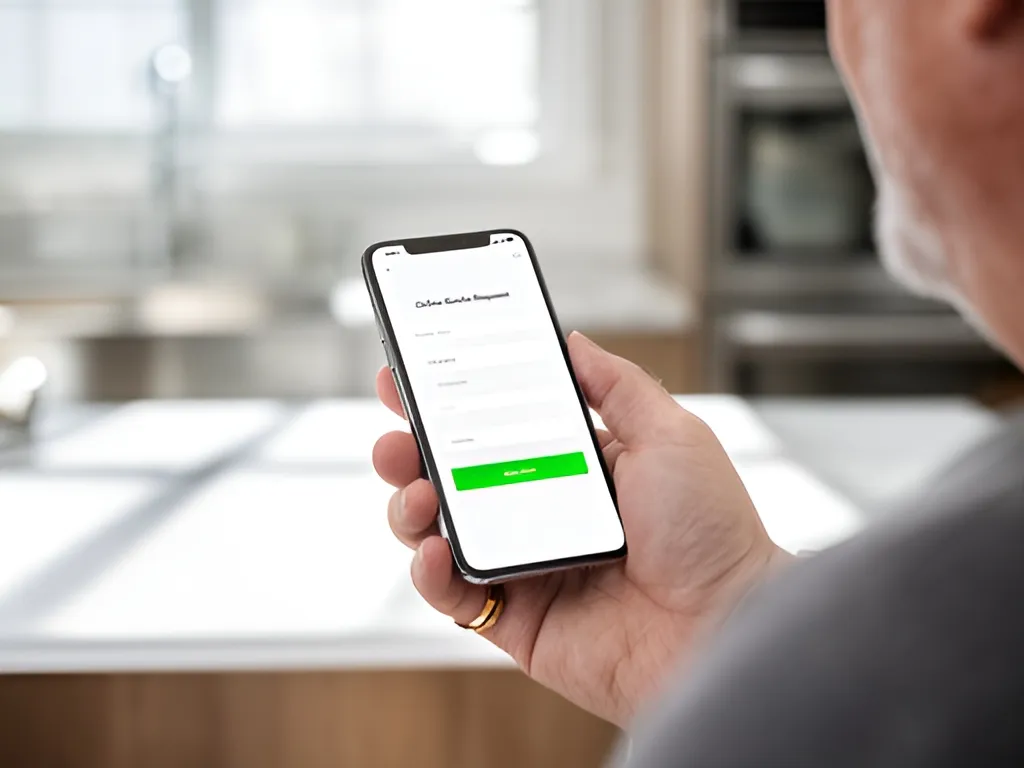
Request an Estimate
Answer a few quick questions online. We match you with the certified installation partner serving your ZIP code.
- 2
Step 2
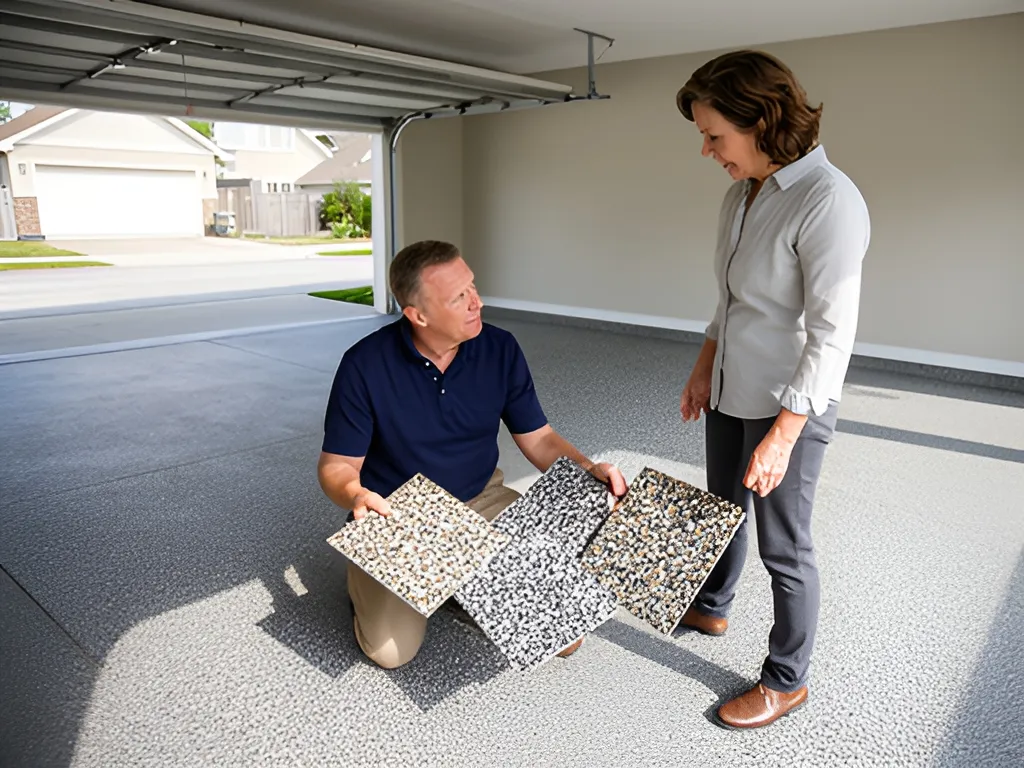
In-Home Evaluation
Your installer measures the space, checks moisture and cracks, shows color and flake samples, and gives you a written quote.
- 3

Step 3
Schedule Your Install
Pick a date that works for you. Your installer confirms the plan and what needs to happen before they arrive.
- 4
Step 4
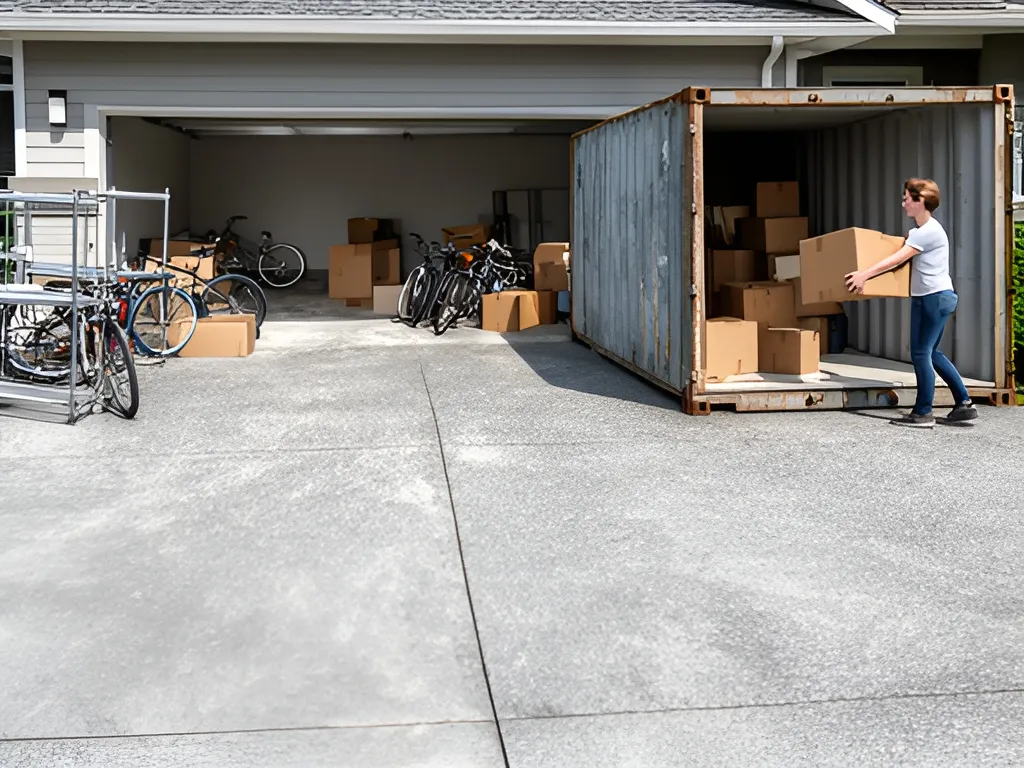
Clear the Space
Before install day, move vehicles, storage, shelving, and anything on the floor out of the space so the whole slab can be prepped and coated. Short on room? Ask about an on-site storage container in your driveway, which may be available in your area for an additional cost.
- 5
Step 5
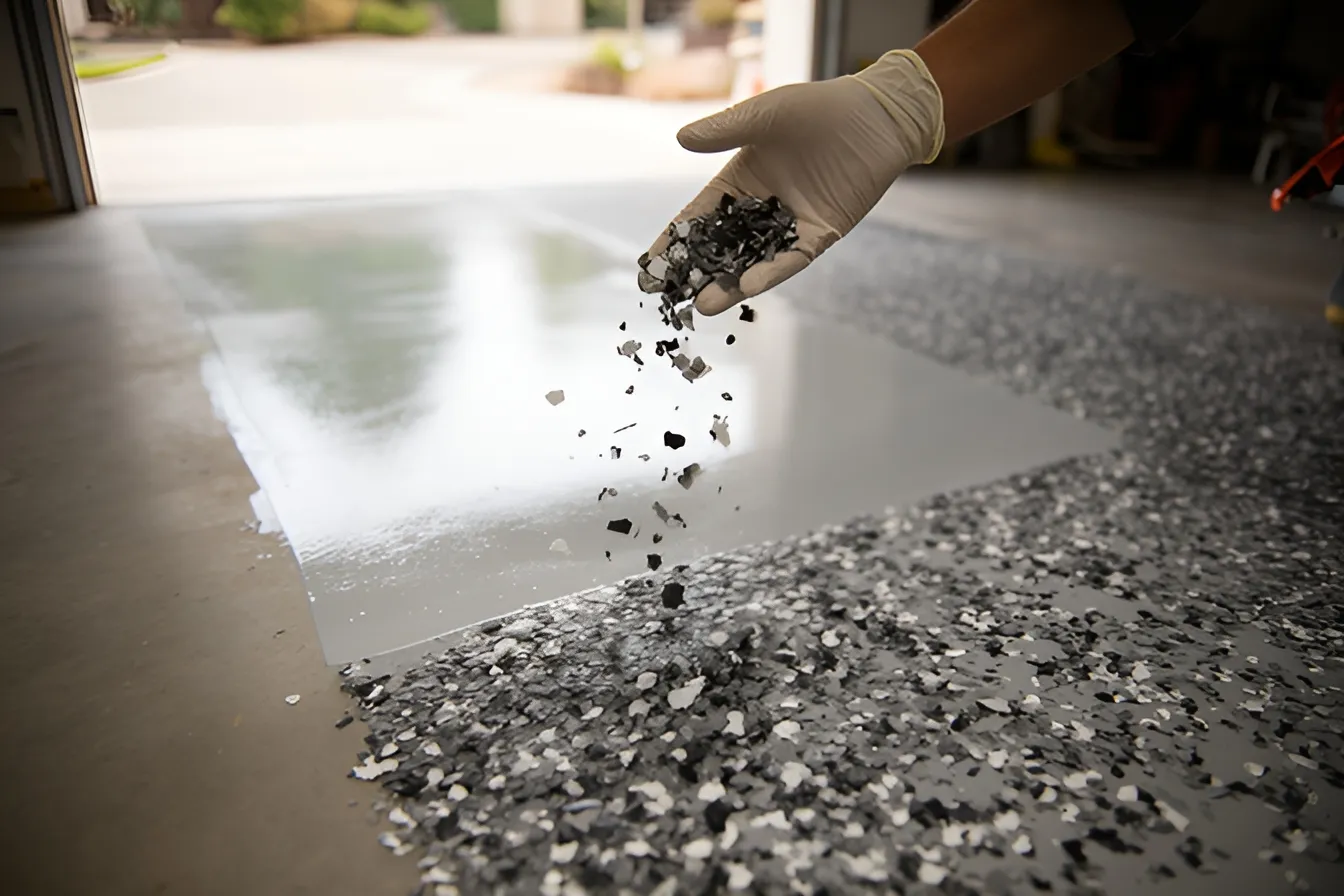
Installation
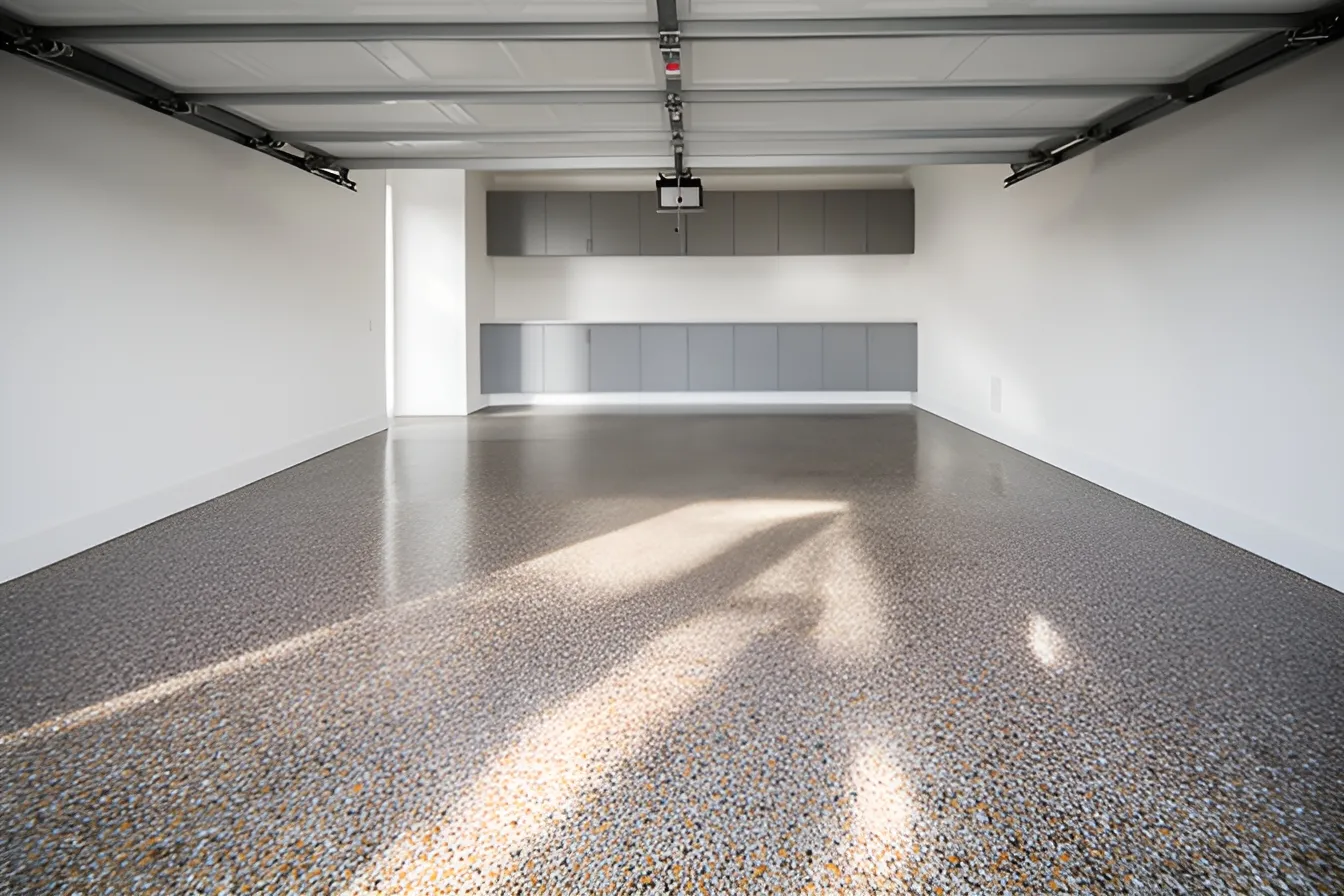
Diamond grinding, crack repair, base coat, decorative flake, and a clear protective topcoat.
- 6
Step 6
Cure & Enjoy
Your installer tells you when the floor is ready for foot traffic and vehicles, and reviews care and warranty details with you.
The System
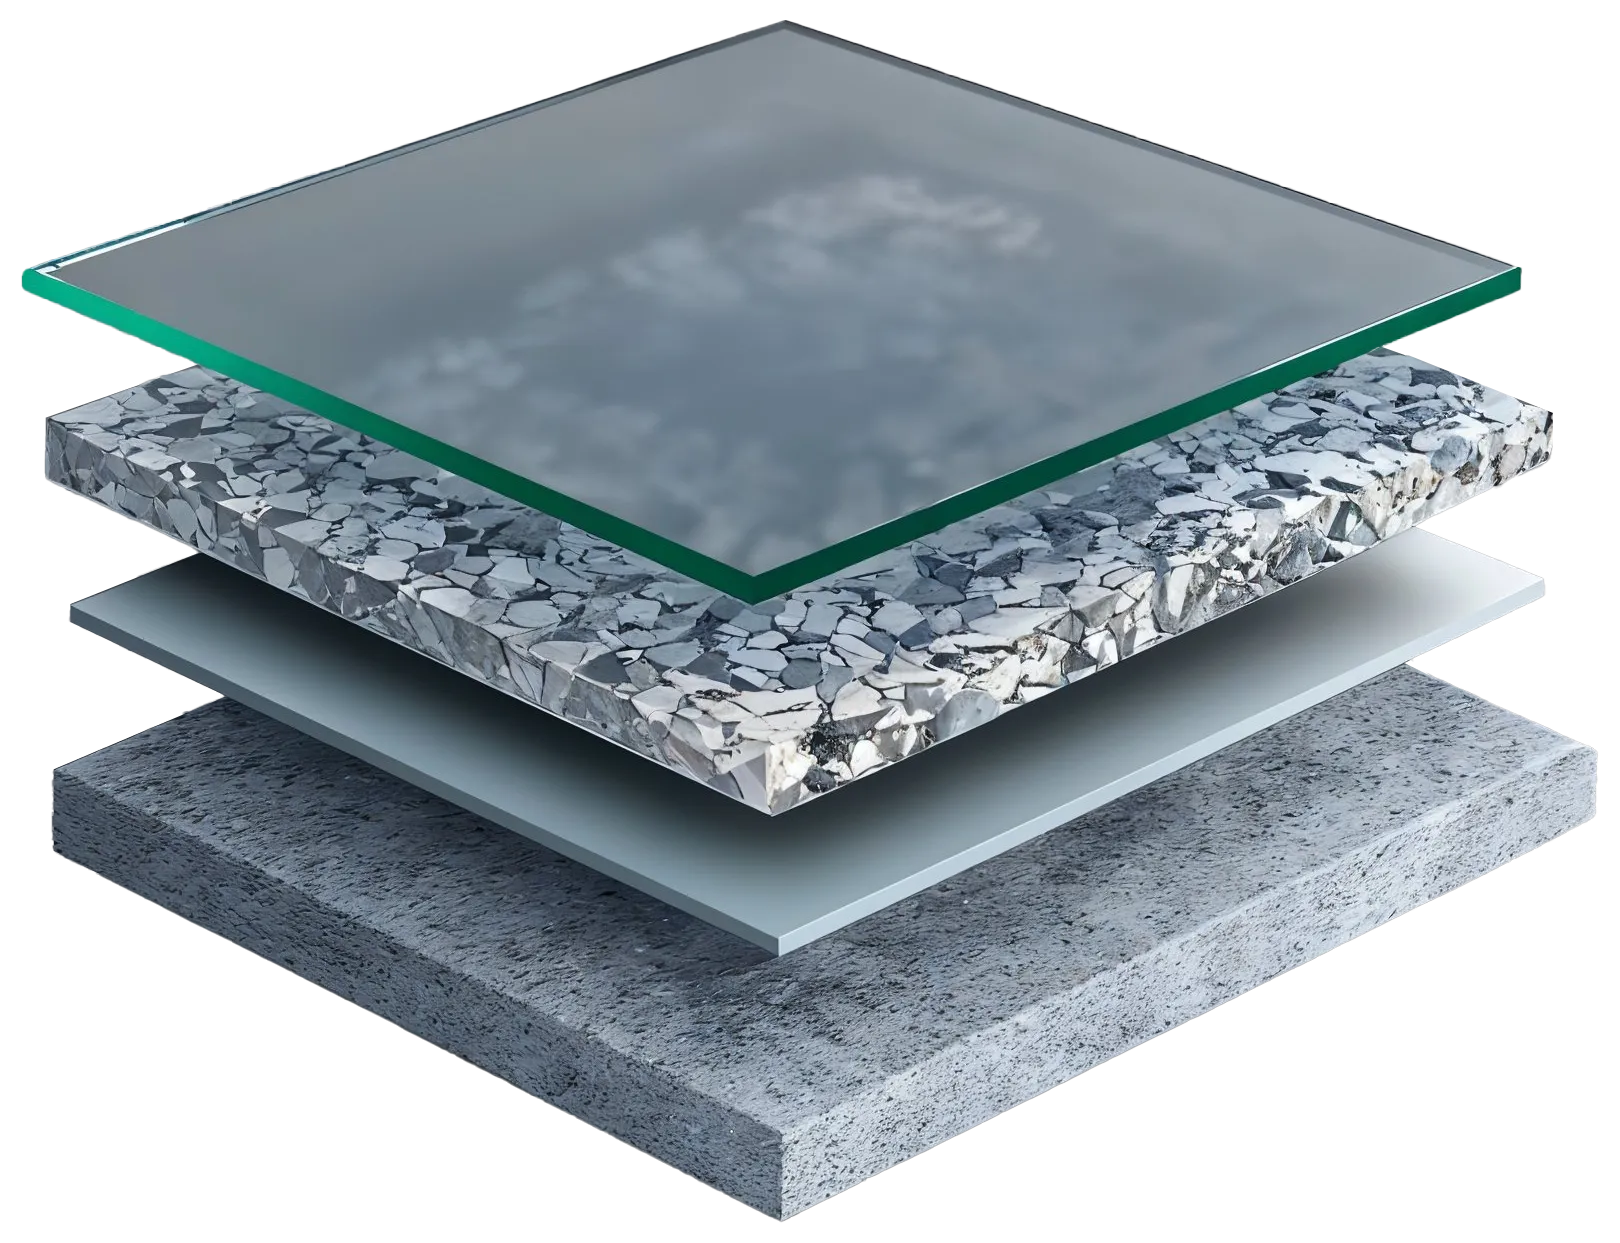
Concrete Coating System Layer Overview
We install either an epoxy-based or a polyaspartic-based flake system, depending on how the space will be used. Every project follows strict surface preparation standards.
- 1
Floor Prep
The concrete is diamond-ground to a CSP-3 profile. Proper preparation removes contaminants, opens the concrete, and ensures long-term bond strength.
- 2
Basecoat
An epoxy or polyaspartic basecoat is applied to penetrate the concrete and create a strong bond. It supports the flakes and improves overall durability.
- 3
Decorative Flake Layer
Flakes are broadcast into the basecoat to add texture, slip resistance, and visual interest across the entire floor.
- 4
Topcoat
A clear polyaspartic layer seals the system, providing chemical resistance, high gloss, and long-lasting protection against vehicle traffic, oil, and chemicals.
Frequently Asked Questions
Do I need to be home during installation?
Only at the start and the end. Your installer will confirm the scope in the morning and do a final walkthrough with you when the floor is finished.
What do I need to do to prepare?
Remove vehicles, stored items, and anything on the floor or low on the walls. If you have nowhere to put everything, ask your installer about an on-site storage container in your driveway, which may be available for an additional cost. Your installer will also tell you about any power or water access they need.
Is the grinding dusty or noisy?
Our installers use diamond grinders connected to HEPA dust-collection vacuums, which keeps dust to a minimum. Grinding is loud for a few hours, much like any power tool.
Can you coat over an existing epoxy or painted floor?
Usually, yes. Old paint and failing coatings are ground off during prep so the new system bonds to sound concrete.